Resize DESIGNER series
Introduction
This tutorial is about how to resize the original layout (banner format) to an 8x10. In this example I used the horizontal template and the steps are similar for the vertical orientation.1. Open the sizes guide
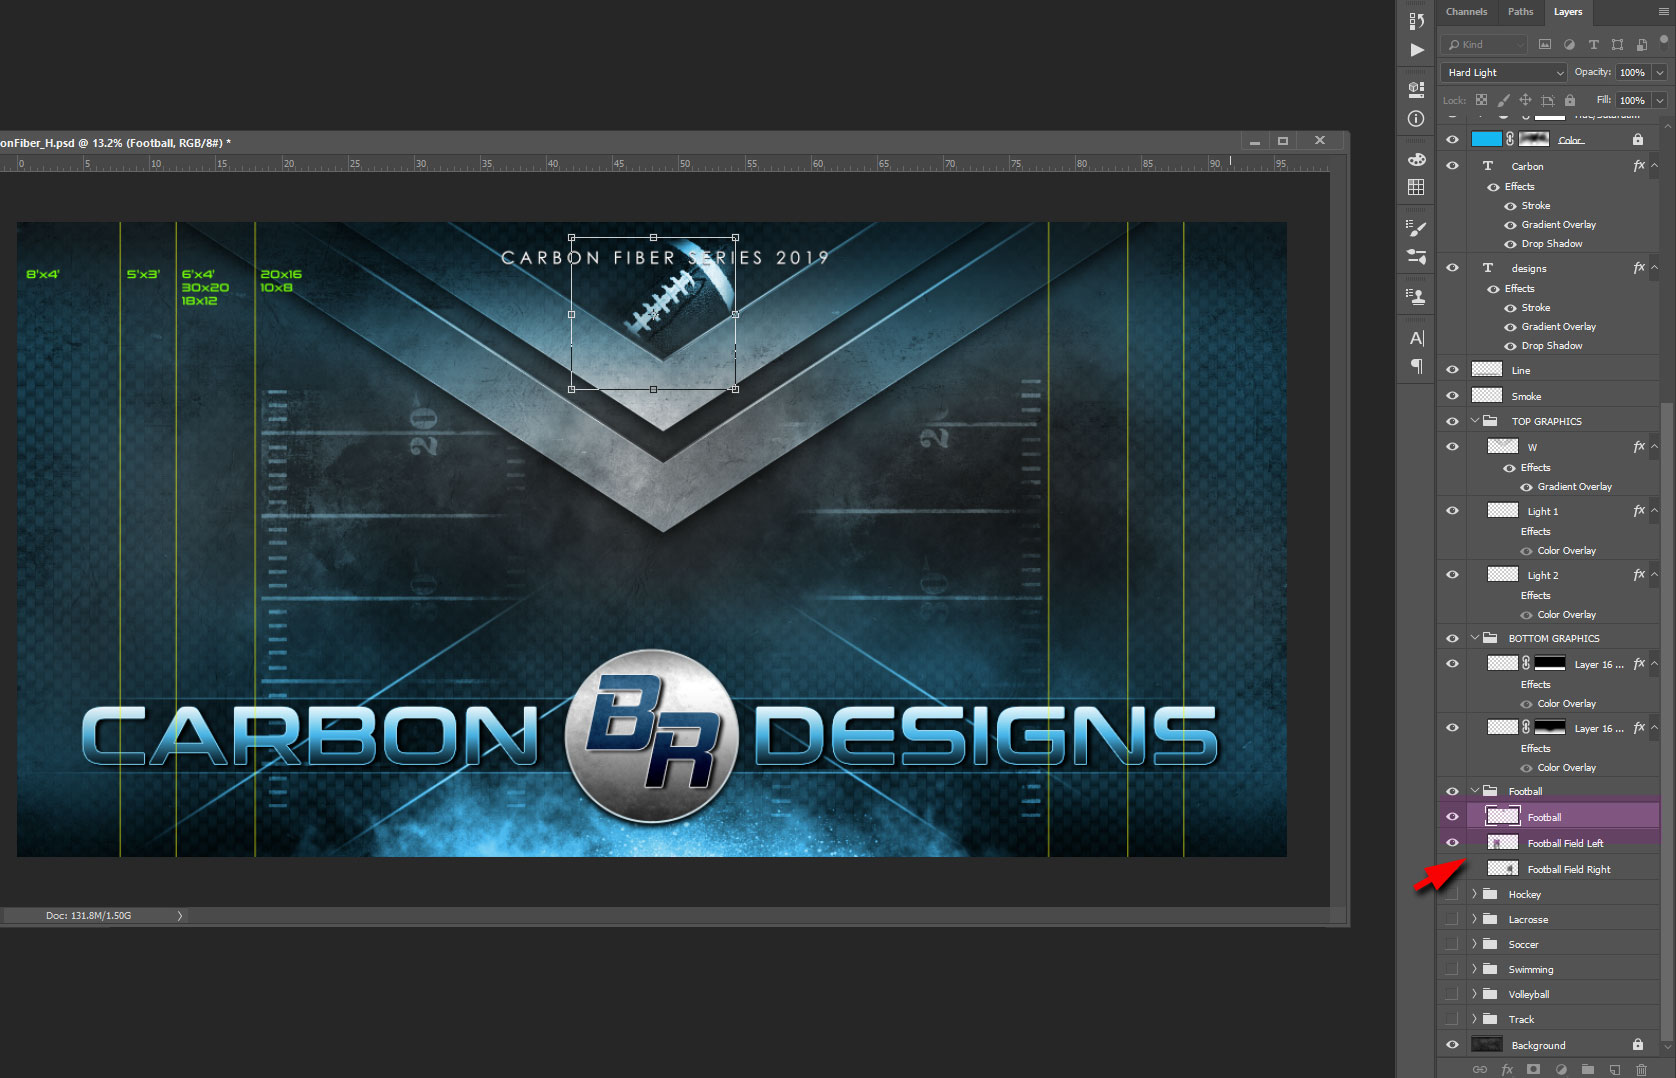
On the Layer's window go to the top of the list and click on the "eye" icon to make visible the sizes guide.

2. Resize the graphics
Using the Move tool and with Auto-Select and Show Transform Controls open (checked), resize (transform) the graphic elements and move them inside of the guide lines. To keep the aspect ratio hold SHIFT while resizing.
Here is the list of the graphics layers names that you may consider to resize/move:
- Badge (folder)
- TOP GRAPHICS (folder)
- BOTTOM GRAPHICS (folder)
- Line
- Smoke
- Text layers
- Different sports graphics/symbols (folder)

3. Resize the SPORTS elements

4. Crop the template
Using the CROP tool (see the image), move the lateral lines closer to the guides and then hit Enter. Please note that everything left outside will be gone.

5. Resize the layout
Open Image Size option (ctrl + alt + I) and uncheck (if necessary) the Resample option. Then go to the values and type the size you want optain.Tips: When you enter the new value, choose the side not cropped (in this example the Height)


SECURE SITE