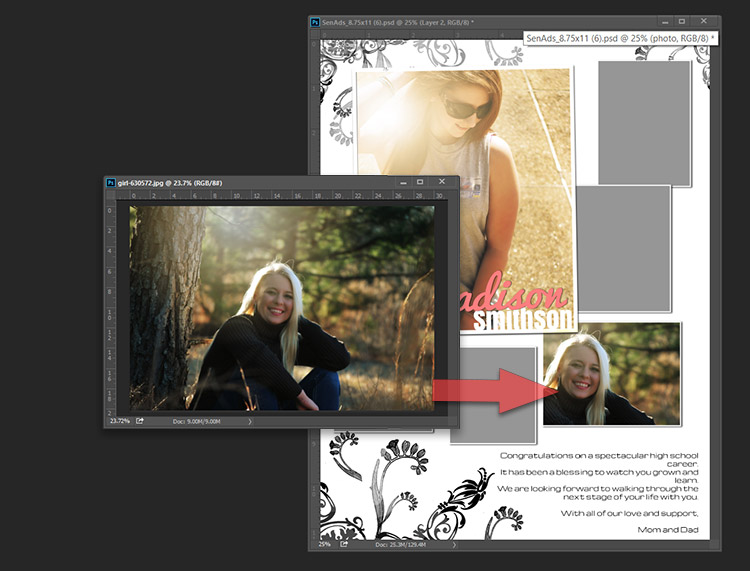
Drag and drop – easy steps
The most appreciated feature of ARC4Studio’s pre-made templates is the easiest way to add images into the designated frames. Based on the “clipping mask” method in Photoshop, the newly added images will be nicely incorporated into the frame shape after a simple drag and drop action.
Here are all the steps you have to follow:
Preliminary settings:
Under Preferences / Workspace, unchecked Open Documents as Tabs
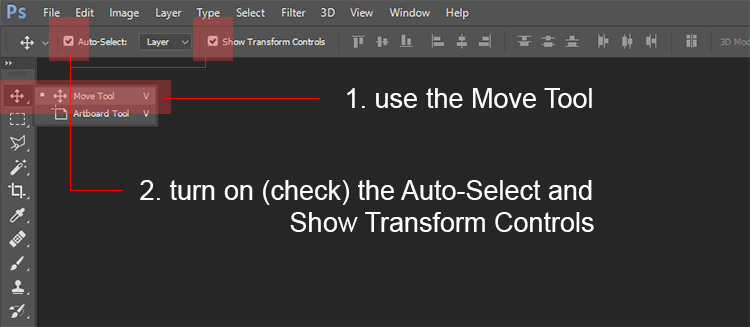
1. Use the Move Tool (V) and turn “on” the Auto-Select and Show Transform Controls
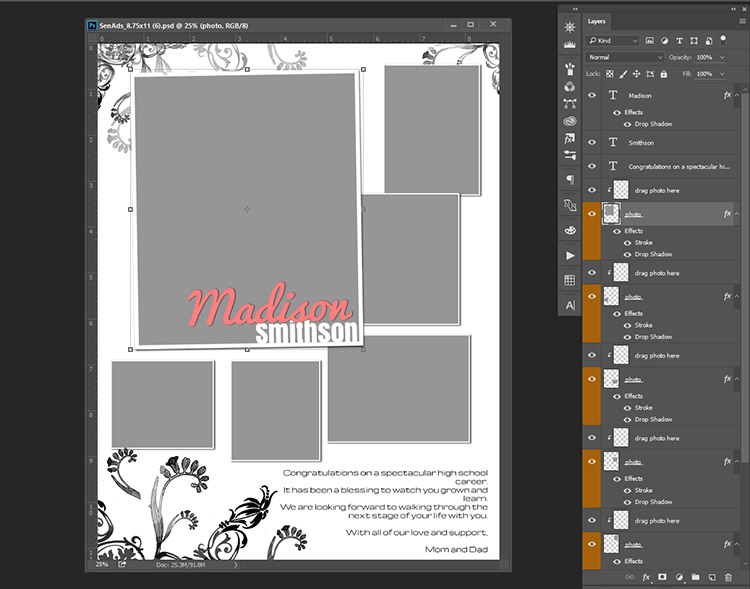
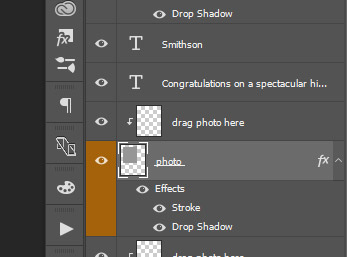
2. Select the layer named “photo” (if the Layers Palette is not on the screen, click: WINDOW -> SHOW LAYERS). Otherwise, click directly on the template on the gray frame where you want to place the image.
3. Open the image that you want to use, click on the image, hold down the mouse button and “Drag” the image of the template (until the document border “light” is changing) and then “Drop” it on the gray frame by releasing the mouse button.
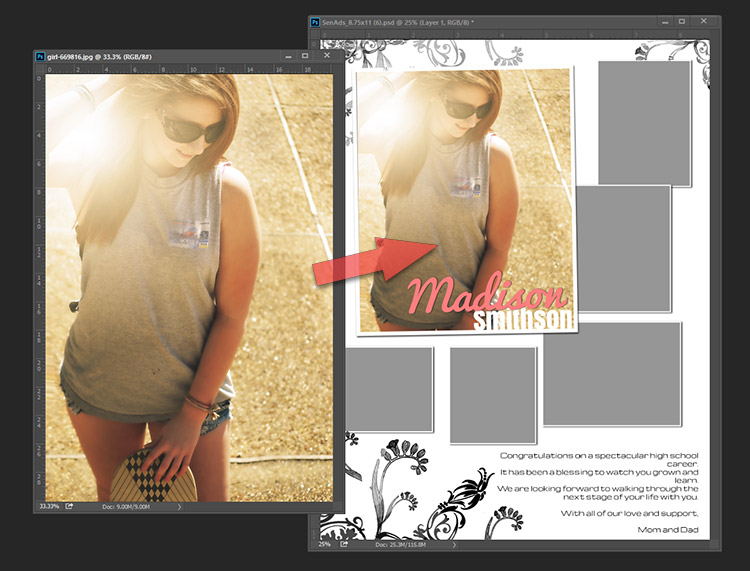
Drag and drop images – easy steps:
- select the frame holder (direct click on the template or click on the “photo” named layer via Layers)
- open the image and drag it over the template and drop it on the frame (release the mouse button)
- make all the necessary adjustments (re-pose, scale, etc)
